
Safety Products


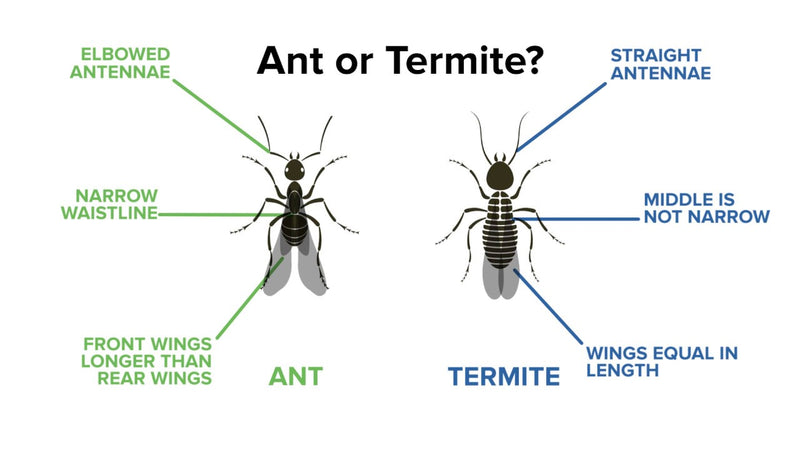
Termite Identification Guide
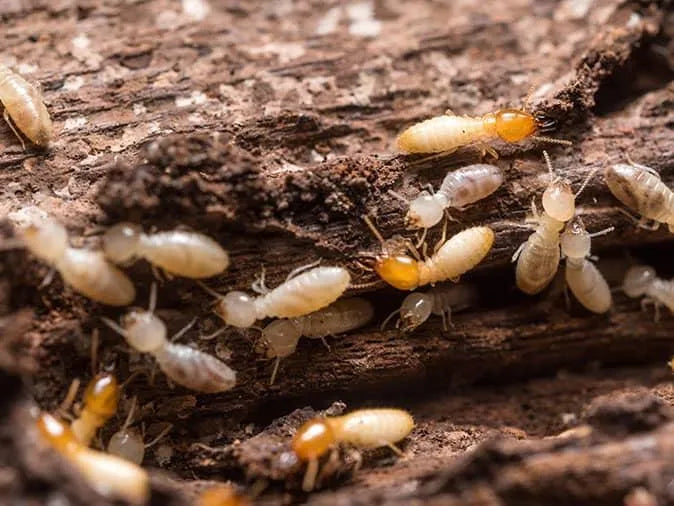
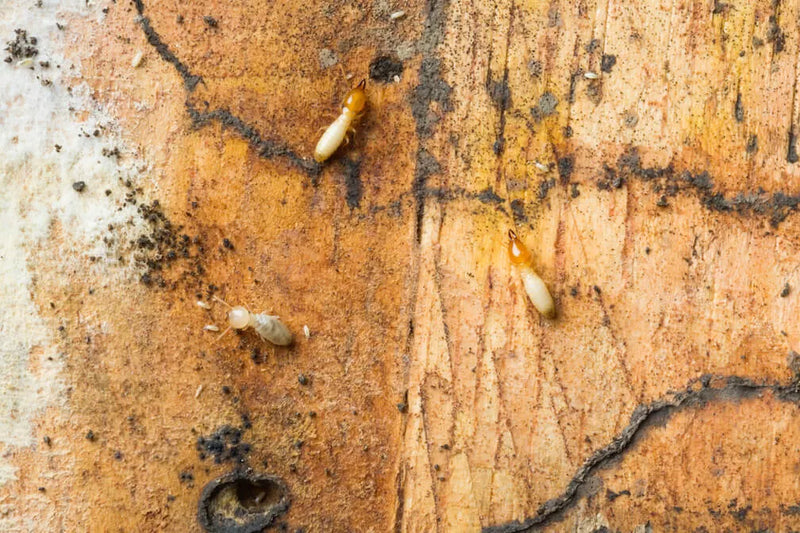

Termite Inspection Guide
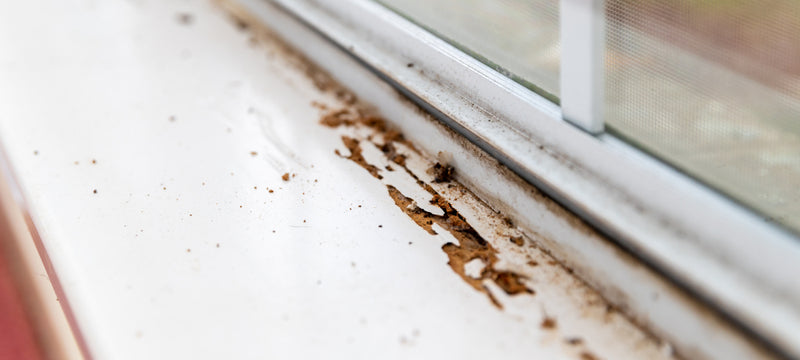
Step1 What to Look For


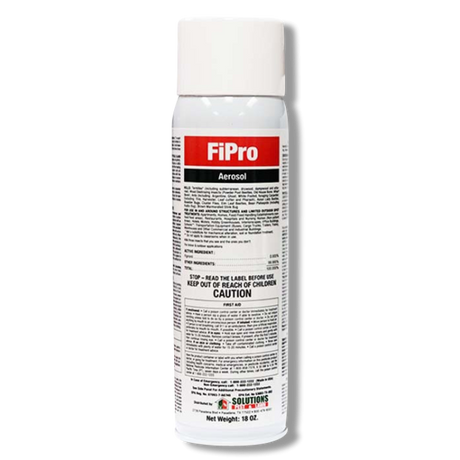
Products we recommend for Step 1
-

-
 Sold out
 -


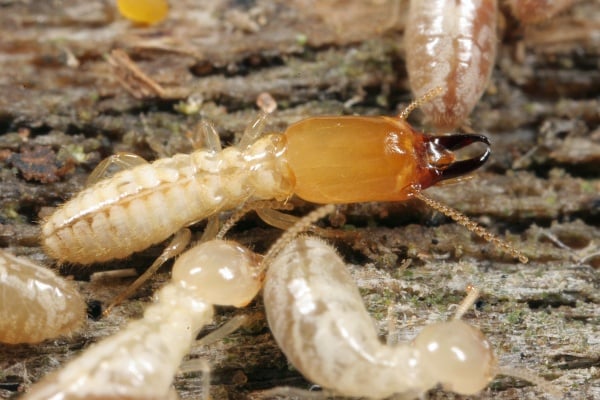
Subterranean Termite Treatment Guide
Step1 If Possible, Treat the Termite Nest Directly
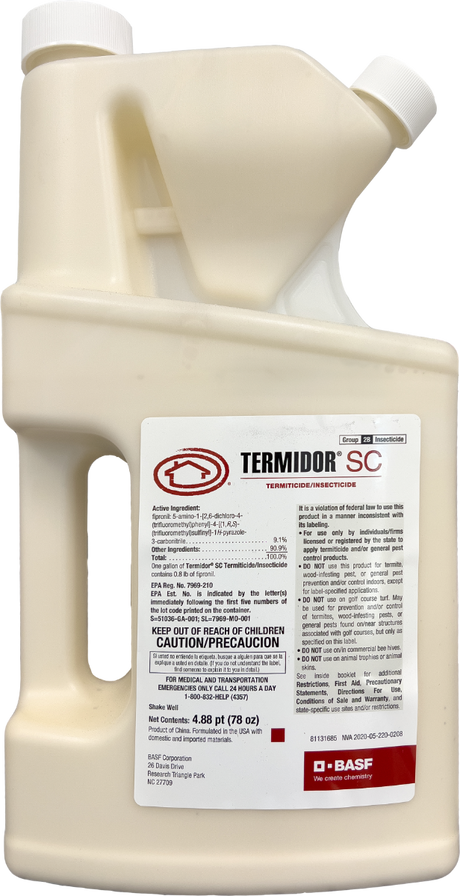
Products we recommend for Step 1
-
 Sale
Sale -
 Sale
SaleEnvu
Premise 2 Termiticide Insecticide - 240ml
🚚 Free Shipping$45.95$65.00Unit price /Unavailable -
-
 Sale
Sale -
 Sale
Sale


Pro Tip
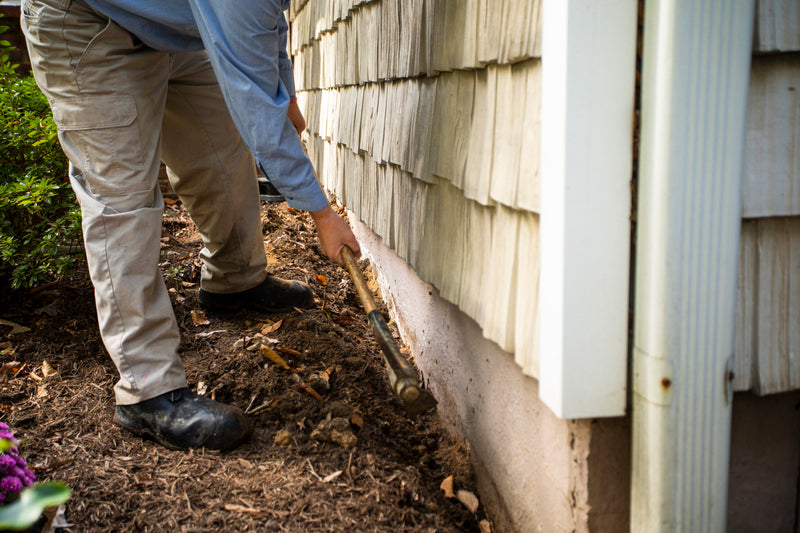
Step2 Termite Trenching
Products we recommend for Step 2
-
Sale
-

-

 Sale
Sale -
 Sale
Sale


Pro Tip
Subterranean Termite Prevention Guide
Step1 Subterranean Termite Prevention Guide
Products we recommend for Step 1
-
Sale
-
-
Sale
Pro Tip
Step2 Termite Bait Stations
Products we recommend for Step 2
-

 Sale
Sale -


 Sale
Sale -
 Sale
Sale


