Related Categories

Safety Products

Choctaw-Kaul

15'' Green Nitrile Gloves

$6.20
View details

Compliance Safety

Ventless Safety Goggles

$4.25
View details

Choctaw-Kaul

Series 122S Zipper Front Coveralls with Hood & Boots

$15.00
View details

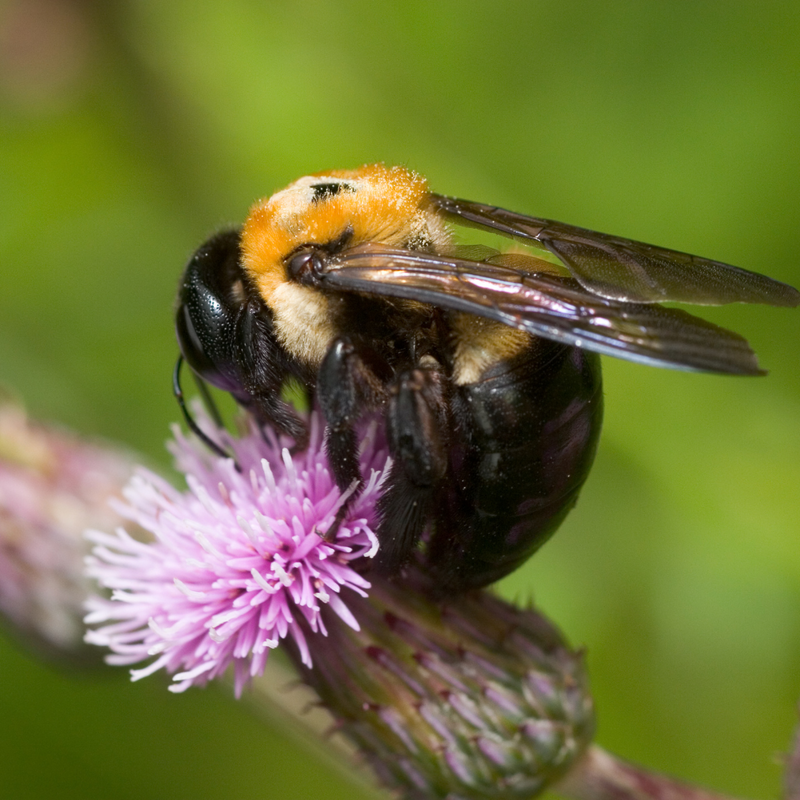
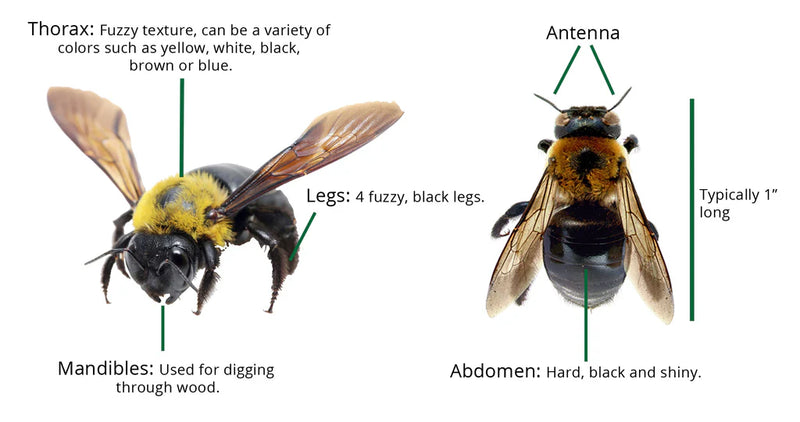
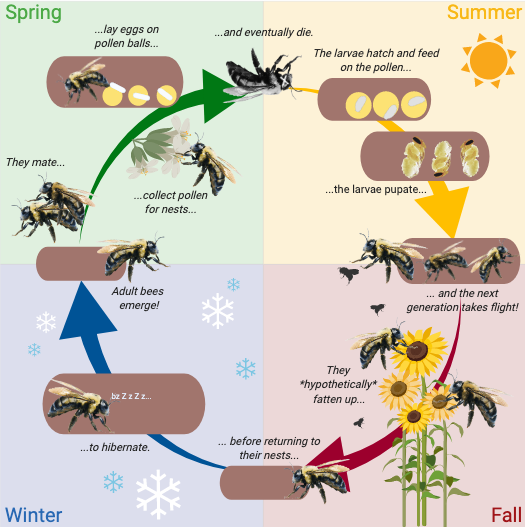
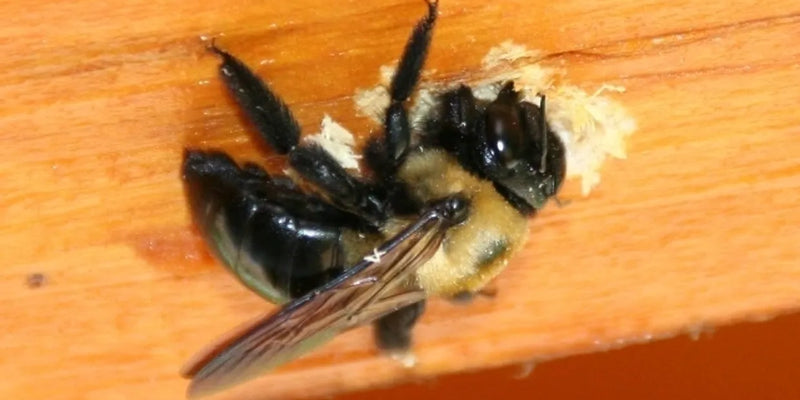
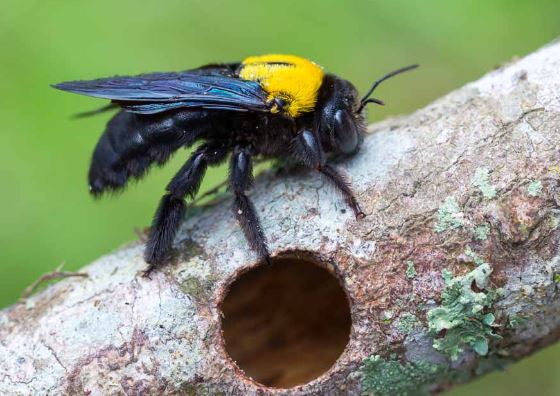
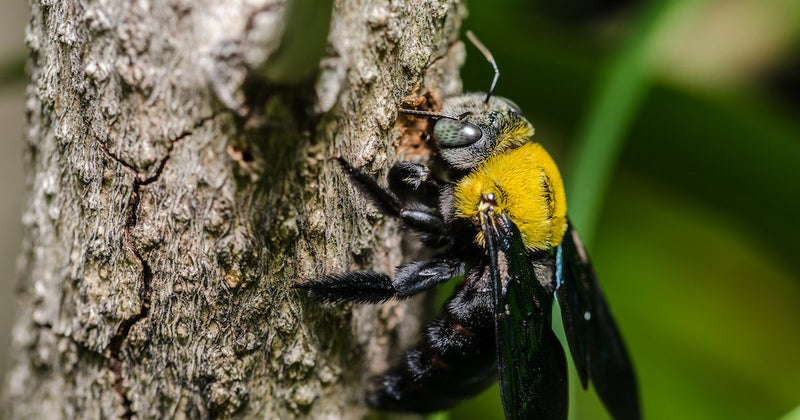
Carpenter Bee Identification Guide

How to Recognize Carpenter Bees

Carpenter bees are frequently mistaken for bumblebees, but there are distinct characteristics that set them apart. Use this guide to identify carpenter bees and distinguish them from their buzzing counterparts.

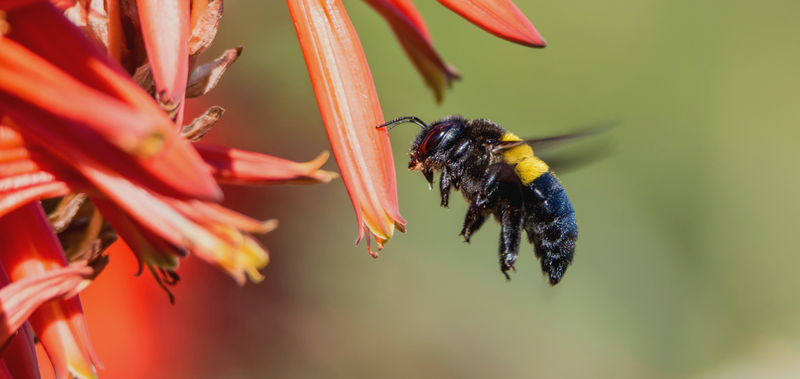
Carpenter Bee Characteristics

Size

  • Carpenter bees typically measure between 1/2" and 1" in length.

Shape

  • Carpenter bees have six legs.
  • They possess two sets of wings.
  • Their bodies are divided into three segments: head, thorax, and abdomen.
  • Stings:

Color

  • Carpenter bees have a fuzzy, yellow-and-black front end.
  • Their back end is shiny, dark, and hairless.
  • Male carpenter bees are easily identified by a white or cream-colored dot on their head.

Nest and Damage

Carpenter bees can also be identified by the damage they cause, which differs from that of bumblebees. For detailed information and visuals of carpenter bee damage, visit our Carpenter Bee Inspection Guide.

Range

Carpenter bees are represented by several species across the United States and are found in most regions.

If you suspect the presence of a carpenter bee nest or have spotted what you believe to be a male or female carpenter bee (as opposed to a bumblebee), click the right arrow below to explore our Carpenter Bee Inspection Guide and learn more about their habitats and behavior.

Carpenter Bee Inspection Guide

How to Identify a Carpenter Bee Infestation

Spot Carpenter Bee Damage, Nests, and Holes

Carpenter bee damage is often highly visible. These bees bore into wooden structures, fences, outdoor furniture, playsets, and garden features, leaving distinct holes behind. Multiple carpenter bee holes can lead to unsightly damage and expensive repairs. Identifying carpenter bee nests early on can help you minimize the destruction they cause.

Call Us

Mon-Fri 9am-5pm ET

Email Our Pros

We’re here to help

Live Chat

Offline. Leave Us a Message

Step1 Identifying Carpenter Bee Infestations

Where to Look and What to Watch For

A graphic displaying examples of carpenter bee damage.

Carpenter bees commonly infest wooden elements on the exterior of homes and structures. Inspections are best conducted during daylight hours. Focus on areas such as wood siding, railings, eaves, fascia boards, fencing, landscape timbers, and other exposed wood around your property. Key signs of carpenter bee activity include:

  • Round Holes: Look for ½-inch circular holes in dry wood, often accompanied by small piles of sawdust beneath.
  • Yellow Streaks: Dirty yellow stains below the holes caused by carpenter bee fecal matter.
  • Active Presence: If a hole is currently occupied, you may notice a male carpenter bee buzzing nearby as you approach.

Eliminating Carpenter or Wood Bees

Comprehensive Carpenter Bee Treatment Guide

Carpenter bees are solitary, non-honey-producing bees that can inflict significant damage to homes and wooden structures. Unlike beneficial pollinators, these invasive pests create individual nests and bore into wood, posing a threat to your property.

Effective carpenter bee control involves two key steps:

  1. Applying a surface carpenter bee spray.
  2. Dusting and sealing individual carpenter bee holes.

Additionally, carpenter bee traps can be utilized to help reduce their population.

Explore our guide below to learn the most effective methods to eliminate carpenter bees and protect your property.

Recommended Products

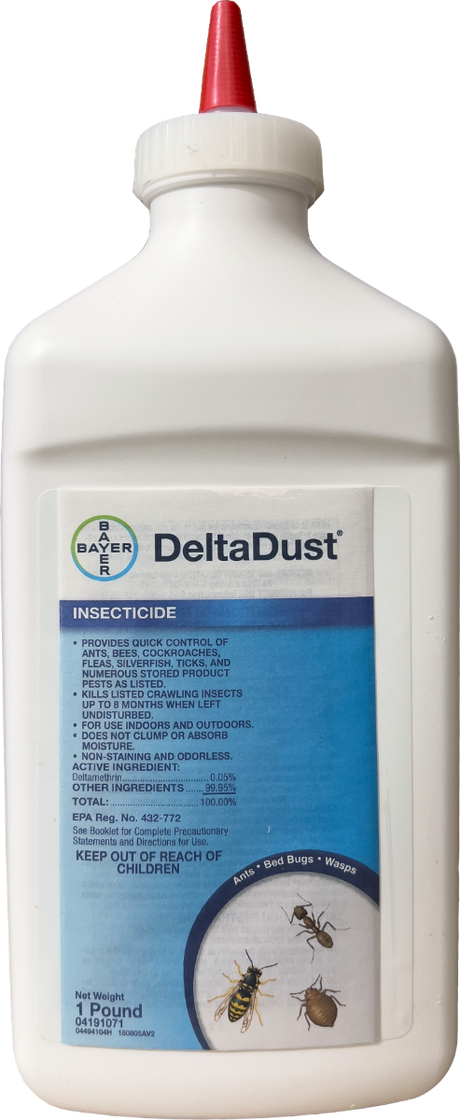
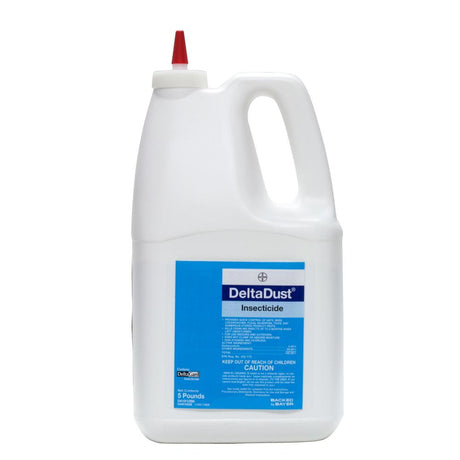
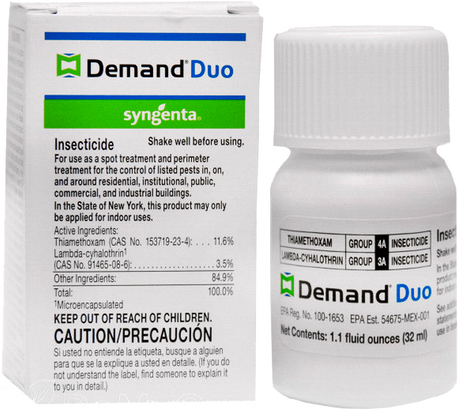
Step1 Apply Insecticide for Wood-Boring Bees

Carpenter Bee Spray Treatment

To control carpenter bees, also known as wood bees, start treating areas of past or current activity during spring or fall. Use a liquid insecticide labeled for carpenter bees, following the product label for dilution and application instructions. Focus your spray on wood surfaces that are prone to infestations, such as eaves, siding, fascia boards, railings, posts, fencing, and garden or landscape structures. Reapply once per month as needed throughout the carpenter bee season.

Important Note:

  • Carpenter bees are solitary and do not swarm, but stings are possible during treatment.
  • If you are allergic to bee stings or feel uncomfortable treating these pests, consider hiring a professional pest control service.
  • For added safety, non-allergic individuals may choose to wear a bee suit while performing the treatment.

Step2 Apply Insecticide Dust and Seal Existing Holes

Carpenter Bee Dust Treatment

To effectively eliminate carpenter bees, dust and seal existing holes. This step targets both adult and immature carpenter bees within their nests, reducing the future population.

When to Apply Dust:

  • Dust carpenter bee holes late in the evening when female carpenter bees are most likely inside the nest and less active. This timing minimizes the risk of being stung and ensures the treatment contacts the bees directly.

How to Apply Dust:

  • Use a hand duster to apply the selected insecticide dust into each carpenter bee hole.
  • Ensure all holes are thoroughly treated for maximum effectiveness.

Sealing the Holes:

  • After 14 days, seal the treated holes using Trebor plugs, Super Plugs, or wood patch materials. This prevents other insects from inhabiting the abandoned holes.

Products we recommend for Step 2

Pro Tip

Avoid plugging the holes immediately after dusting. Sealing too soon can trap immature carpenter bees, allowing them to mature and bore a new exit path, bypassing the dust. Waiting 14 days ensures the female carpenter bee has returned to the nest, spreading the dust throughout and eliminating the developing carpenter bees effectively.

Eliminating carpenter bees requires persistence and the right approach, but by using the appropriate products and following this guide, you can achieve effective results. For additional assistance with your carpenter bee treatment, feel free to contact our customer service team or email us.

Call Us

Mon-Fri 9am-5pm ET

Email Our Pros

We’re here to help

Live Chat

Offline. Leave Us a Message

Step1 Carpenter Bee Prevention Guide

General Pest Spray Applications
Preventing carpenter bees in areas where they are commonly active can be challenging. However, performing regular preventative insecticide spray treatments can significantly reduce the likelihood of new holes being drilled. Begin your monthly preventative spray applications in early spring and continue through early fall.

For more comprehensive guidance on general exterior sanitation and preventive spray applications to deter pests, refer to our [General Pest Prevention Guide].

Products we recommend for Step 1